Joint Release Adjustment
Joint Tune-Up
IS A JOINT ON YOUR MOUNT NOT UNLOCKING LIKE IT USED TO?
-ie seems frozen - stuck - not releasing - hoop operation no longer unlocks the joint easily -
.....it might be time to tune your Joint-Release Adjuster!
Background:
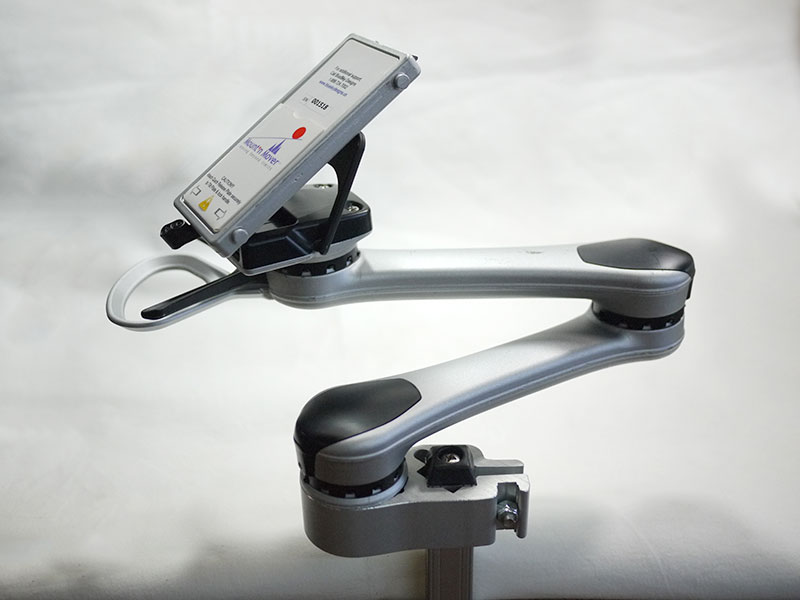
The Joint-Release Adjuster (JRA) was implemented (starting from Serial # 1480) to provide a simple way for you to give the joints a tune-up after extended use.
Is This What You Need?
- The JRA does not affect locking strength – only the trigger for unlocking
- If your Mount’n Mover has no problem releasing, but does not stay locked - the JRA will not help. Please Contact Us
- When you depress the hoop completely, and neither joint unlocks -- the release mechanism may have worn out - the JRA will not help Contact Us
- This feature is only available for the elbow and shoulder. If the wrist joint is not functioning correctly, please Contact Us
Warning
Adjusting the JRA too far may result in poor locking strength.
Please test the joint after each adjustment. Only adjust each joint so the Hoop can unlock both the elbow and shoulder joint (simultaneously and independently).
Joint Release Adjustment
LETS BEGIN:
Tools Required: 1/16” hex key (included with every Mount’n Mover)
Approximate Time Required: 15 minutes
Step 0: Prepare the Mount to Adjust the Joint
In this example the Elbow joint won't unlock, we will adjust the elbow joint's JRA
Step 1: Move Unaffected Joint to Unlocked Position

Move the joint you aren't adjusting to a non-locked position (this isolates the problem joint so it can be adjusted)
Step 2: Test the Hoop for Droop

Confirm that when the unaffected joint is out-of-lock
the Hoop droops or sags slightly. Push the Hoop up. It should drop slightly when you take your hand away
Step 3: Remove the Plastic Cover

Remove the black plastic cover over the problem joint.
Using the 1/16” Hex Key, turn the set screw counterclockwise until the screw is completely out
Remove the black plastic cover by tipping it up and pull back
Set the cover aside for now
Step 4a: Adjust JRA Set Screw

Find the JRA Screw in the exposed joint.
Insert the 1/16" Hex Key into the JRA Screw (found in the center of the open joint)
Keeping an eye on the hoop, slowly tighten the JRA-screw clockwise (You may feel some resistance from the loctite used to protect the screw from vibrating loose)
Step 4b: Adjust JRA Set Screw

Make sure to just eliminate droop in the hoop lever. Watch for the hoop to move up as the JRA-screw tightened (this should be a difference of 1/16-1/8 in)
Step 5: Test the Joint

Test to make sure joint locks and unlocks readily. Then replace the black plastic cover.
For the Dual Arm Mount'n Mover, repeat this process for the other joint as needed.