Joint Release Adjustment for the Mount'n Mover
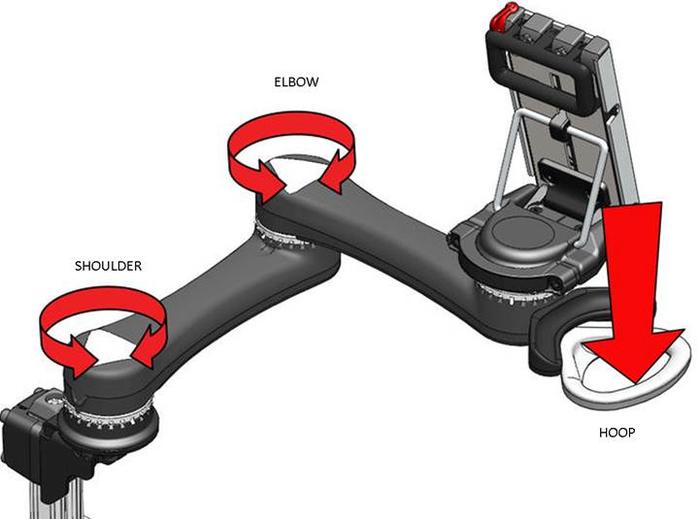
These instructions only apply to the Dual Arm Mount’n Mover Generation 2, pictured above.
Only follow these instructions if the arm is displaying these symptoms:
· Pushing & holding down on the hoop doesn’t release the elbow and/or shoulder (they do not swing freely)
· Hoop is floppy (does not spring up when in a locked position), or bottomed out in when elbow & shoulder joints are locked.
Instructions below walk through shoulder release adjustment.
For elbow release adjustment, follow instructions below, replacing shoulder with elbow.
You will need:
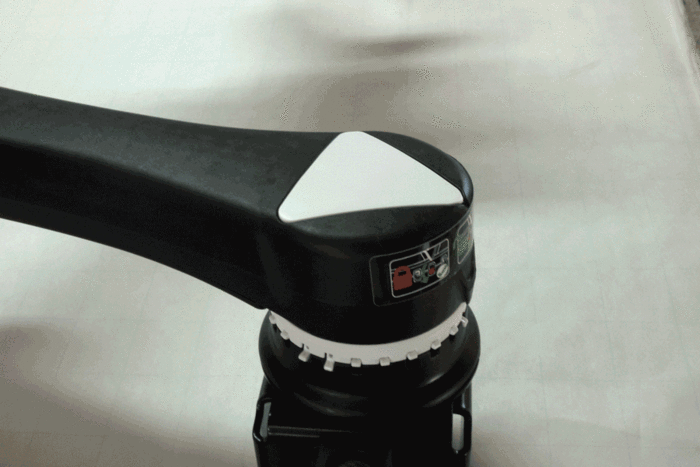
· 1/16” hex key [pic] (included with Mount'n Mover)
· Roughly 15 minutes
Please contact us for support, or if you have any questions or comments.
***WRIST JOINT ADJUSTMENT INSTRUCTIONS (Different from Shoulder and Elbow joints)***.
Instructions for adjusting the shoulder and elbow release
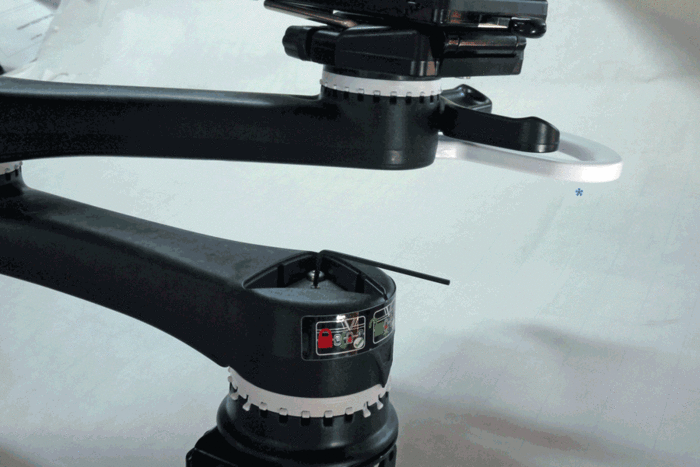
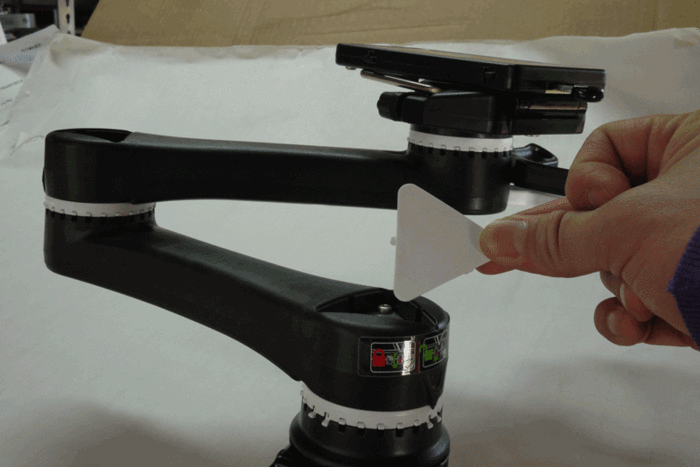
Step 1. Remove triangular plastic cover(s)
Step 2. Observe hoop response to each lever.
Example: shoulder doesn’t release:
you will see the elbow lifter plate move up, and is allowed to swing freely.
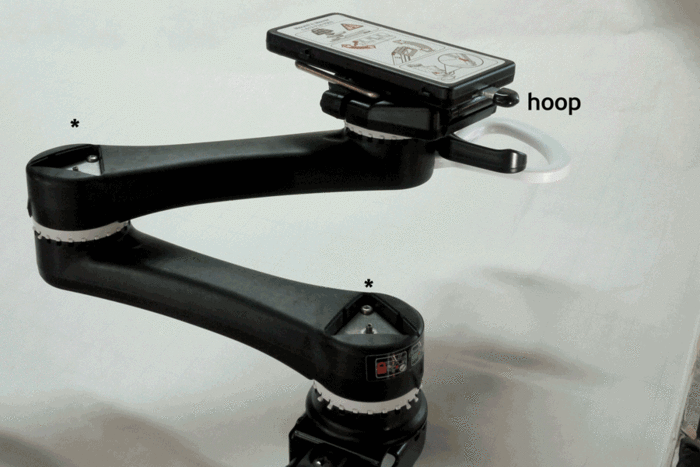
Shoulder doesn’t move up enough?
Step 3. Isolate joints (if for shoulder):
[move elbow out of lock position]
keep shoulder in locked position (since you cannot release).
Move the joint you are not adjusting to a non-locked position (this isolates the problem joint so it can be adjusted)
Step 4. Adjust release timing for shoulder.
use 1/16 hex key, rotate ¼ turn clockwise and test. Repeat until the joint releases when you depress the white hoop. Do not turn the three torx screws at the corners of the metal triangle.
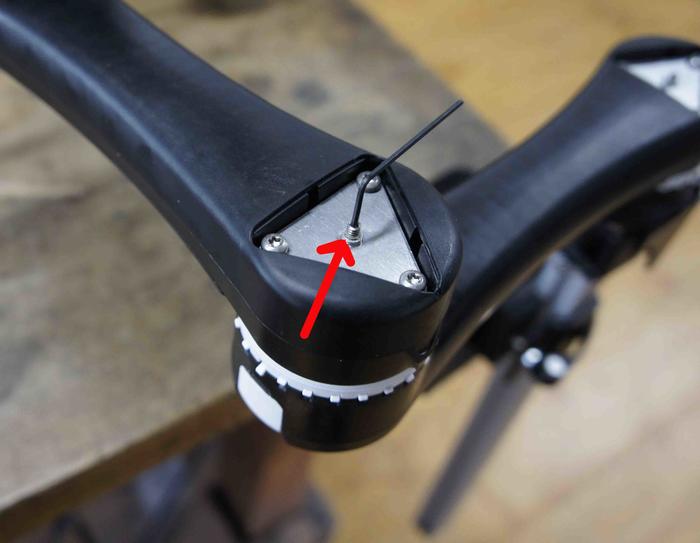
Don’t go too far! Driving set screws all the way down can prevent a strong lock.
Step 5. Test with both joints locking and unlocking.
If insufficient, return to step 4.
Step 6. Good? Pop covers back on.
Still not working? Contact us with the Serial Number to schedule a repair!