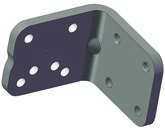
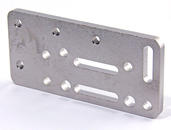
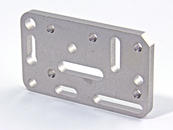
Offsets attach to the wheelchair attachment hardware, and are used to:
Get around obstacles such as trays, brakes, footrests and armrests
Position the Wheelchair Bracket so the post is in the optimal position (post can be inserted and removed, brakes are unobstructed, footrests removed, accommodate the tray, etc)
Adjust the angle of the hardware and/or bracket to make sure the post is vertical
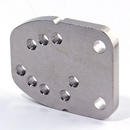
These plates can all be used to offset. To figure out which offset plate will work for you, see our Offset Guide.
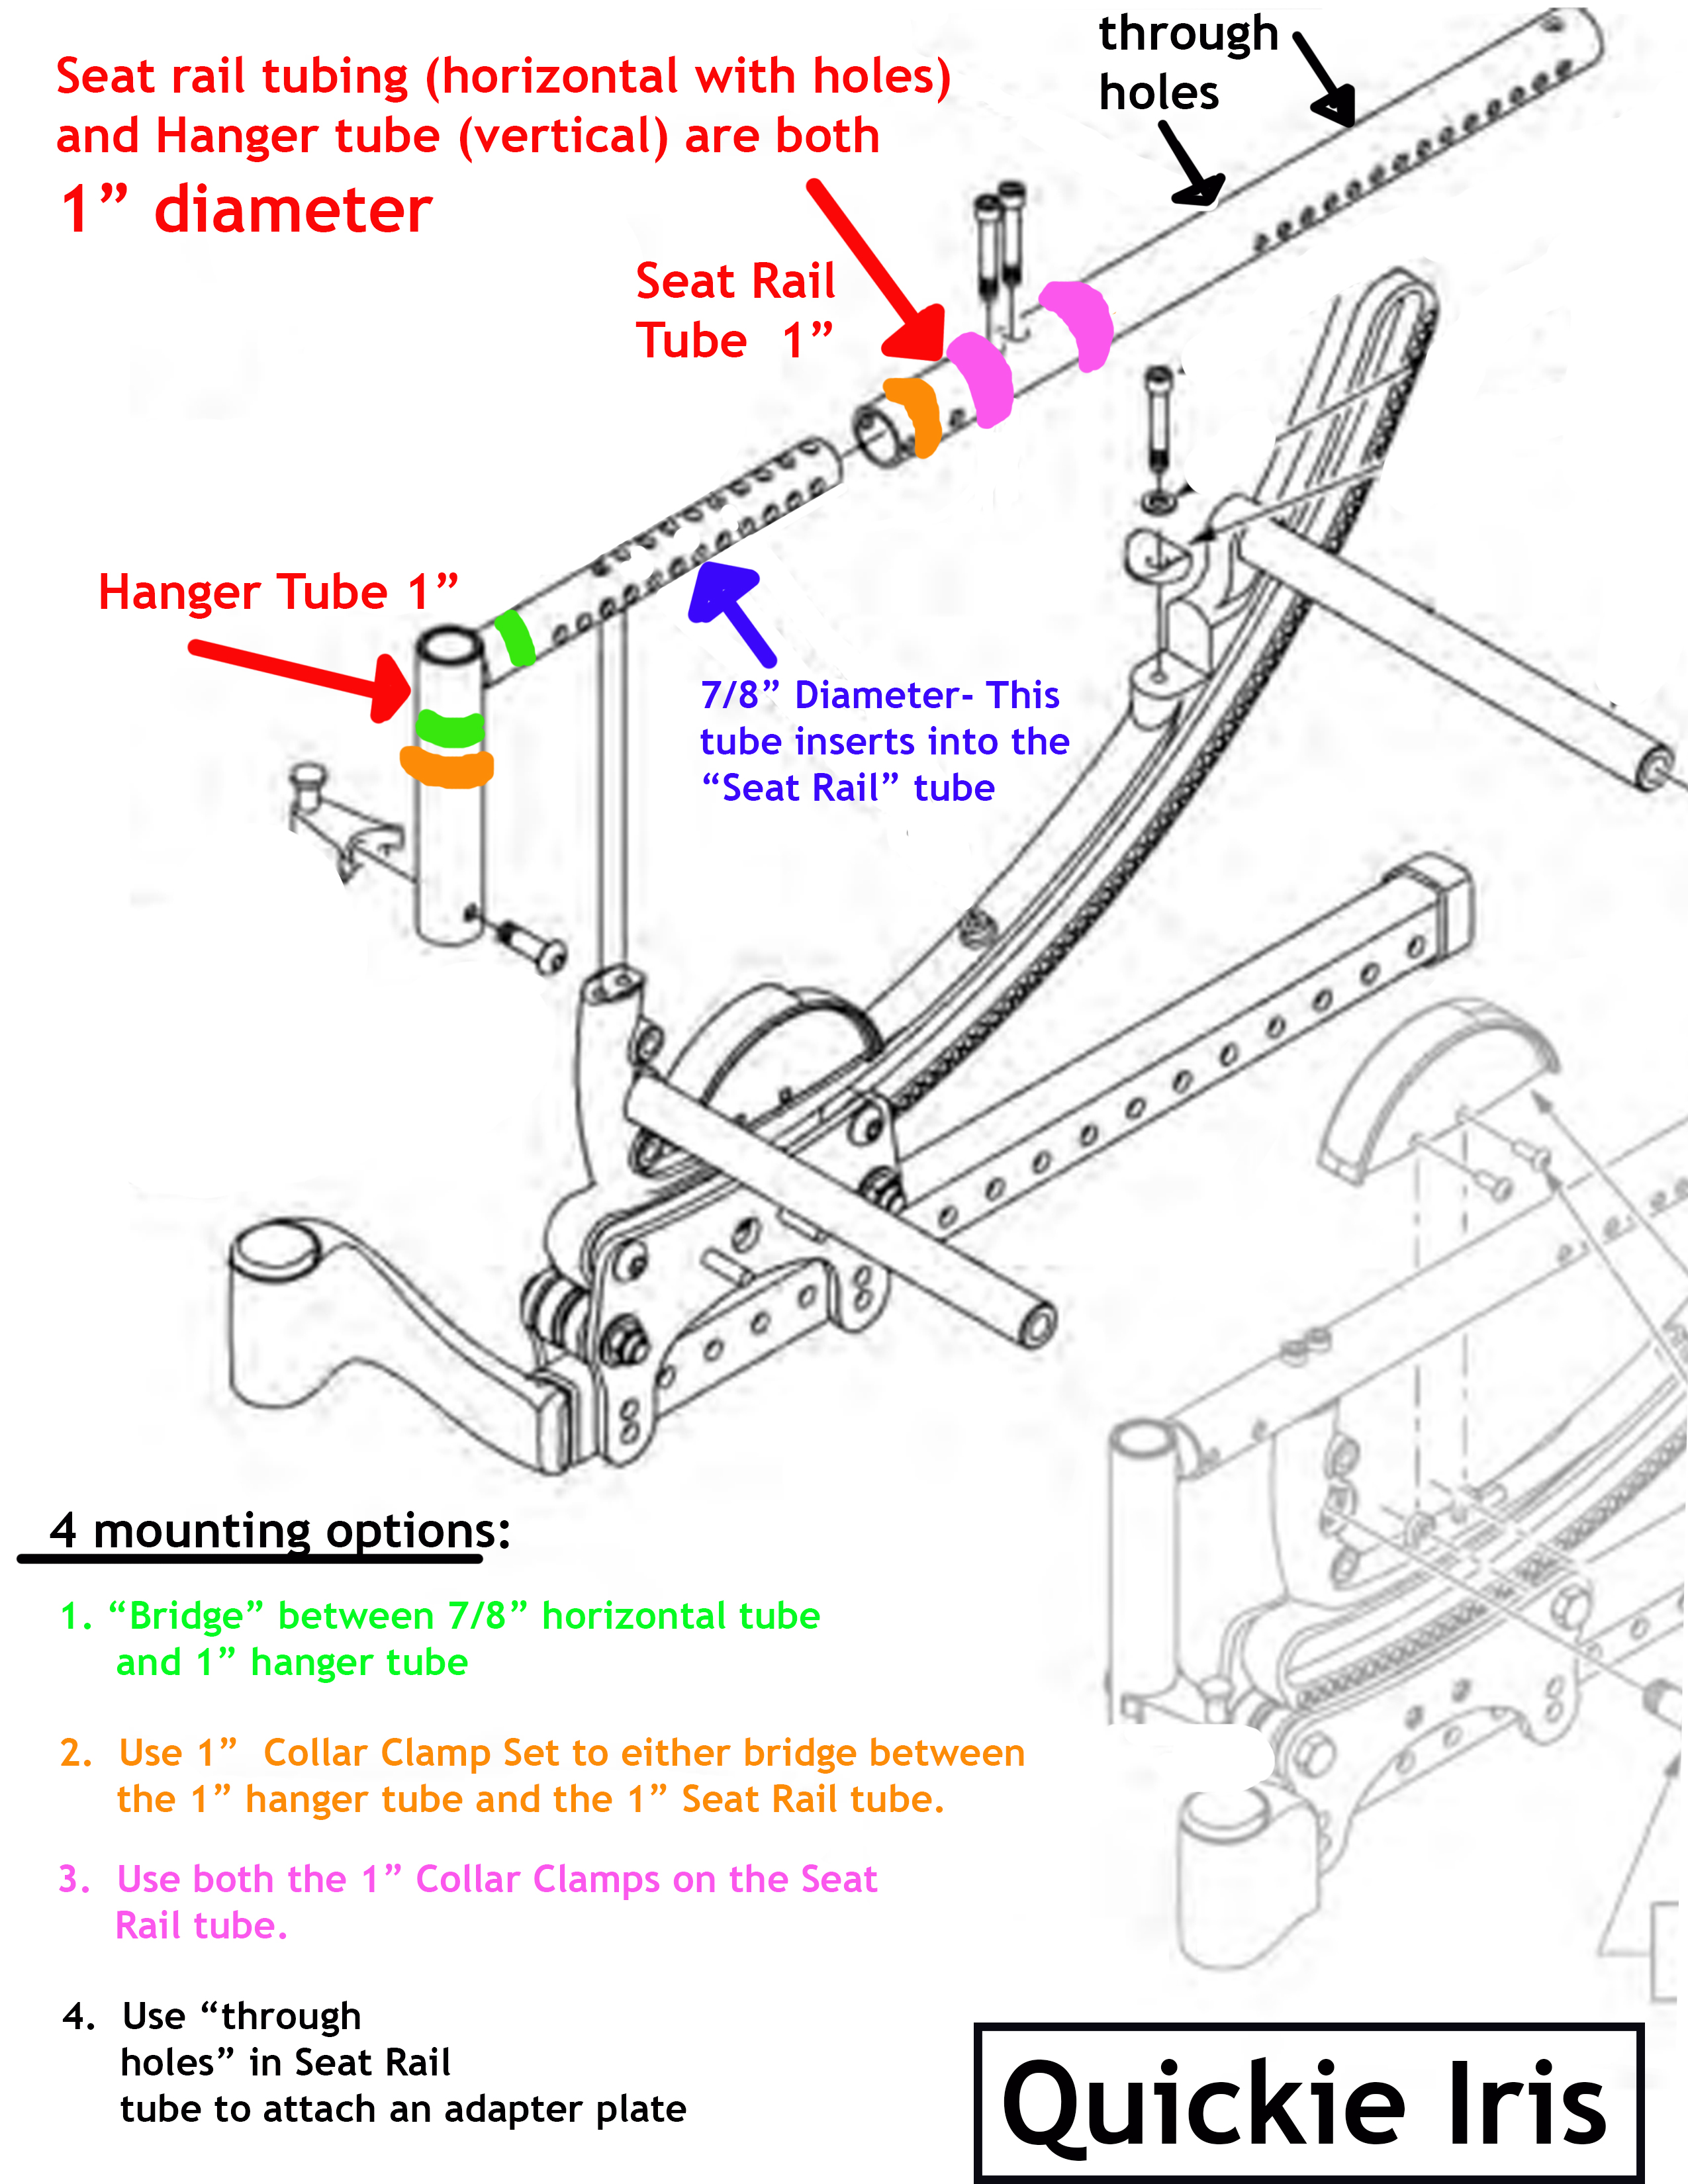
There are multiple options for attaching the mounting hardware to the Quickie Iris. It mostly depends on how the chair is confiured.
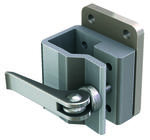
Attach bridge clamps on horizontal and vertical tubing. Bridge across clamps with an WC-AP4 plate. Attach the WB2 (post clamp) to the adapter plate. You may possibly need a WC-AAP (angle adjust plate) between the adapter plate and the post clamp to get the post back to vertical if the chair is always in tilt position.
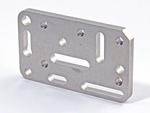
Another option would be to attach the adapter plate directly through the holes in the tubing with included long bolts and nuts. Used coved spacers to provide a flat surface for the adapter plate against the round tubing.
Note that the inner telescoping tubing on the horizontal tube is 7/8". If the foot hanger is adjusted further out you may need a 1" clamp for the vertical and a 7/8" clamp for the horizontal.
****Collar Clamp size on smaller telescoping tube is 21 mm******* 7/8" Bridge Clamp works....7/8" Collar Clamp is too small. There is one adjustment size on the telescoping tube that is too small for a bridge clamp. This would be a situation where a 21mm collar clamp would need to be used.
Watch our step-by-step guide where owner, Peter Loeffler, walks you through how to attach to your Quickie 2. If there is a problem with the embedded video, here is the link to the YouTube Playlist:
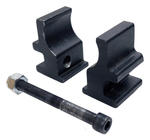
Approach 2: Attach using collar clamps with an Adapter Plate 4. Attach one to the horizontal tube, and one to the vertical tube, taking care so the footrest can still be removed if necessary. Use offsets to position the Wheelchair Bracket as needed.