Media library
Media library
Find images, documents and videos that appear elsewhere on this site. Use the filters below to search by name, type or tag.
Image
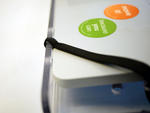
Laptop tray: use corner straps

large and small simple mount tray.jpg

large and small tray.jpg

large and small tray.jpg

Large lip supports overlapped.jpg
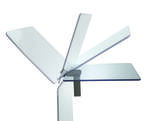
Large Simple Mount Tray
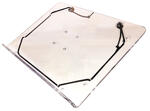
Large Tablet Tray
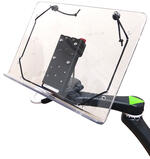
Large Tablet Tray on Dual Arm Mount'n Mover

Large Tray Folded down.jpg

Large Tray Folded down.jpg

Large Tray Folded down.jpg

Large Tray Folded down.jpg

Large Tray Lip Supports.jpg

Large Tray Sequential ghost images.jpg

Large Tray Tilted with Edge supports at bottom.jpg

large tray up with phone at top with ubrackets.jpg

large tray up with phone at top with ubrackets.jpg

Large Tray with ipad and phone.jpg

large tray with ipad case.jpg

large tray with ipad case.jpg

LARGE-TRAY-SIDE-TO-SIDE-GIF.gif
Laura and LuckyiContact.jpg

ld-bclampA2-xasm.png
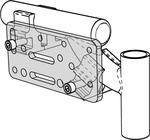
ld-bclampB2.jpg
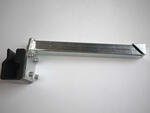
Leckey Bracket alone.jpg
Leckey-Kit.JPG
Leckey-Kit.JPG
Leckey-Kit_BaseView.JPG
Leckey-Kit_BaseView.JPG
Leckey-Kit_FullyAttached_LAE_AP2.JPG
Leckey-Kit_FullyAttached_LAE_AP2.JPG
Leckey-Kit_PlateAttached.JPG
Leckey-Kit_PlateAttached.JPG
left side.JPG
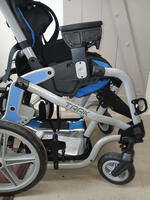
Leggero Trak
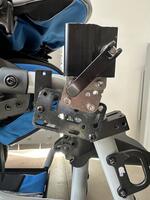
Leggero Trak option #2
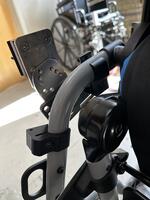
Leggero Trak option #2 inside view
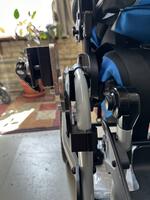
Leggero Trak option 2 front view
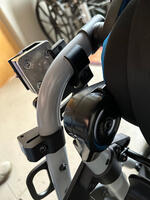
Leggero-Trak-opt1-inside
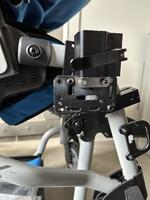
Leggero-Trak-opt1-side
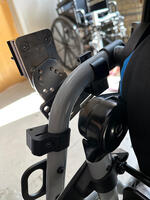
Leggero-Trak-opt2-inside
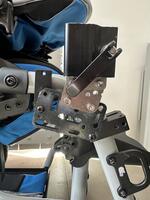
Leggero-Trak-opt2-side
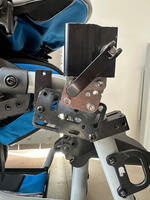
Leggero-Trak-opt2-sides
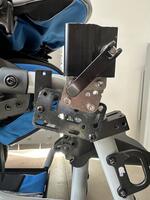
Leggero-Trak-option2-side
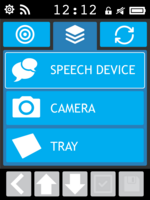
Levels.png
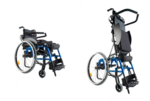
Levo LCEV Standing
LevoCombi_arm-1a_AP4.JPG
LevoCombi_arm-1a_AP4.JPG
LevoCombi_arm-1a_AP4.JPG
LevoCombi_arm-2a.JPG
LevoCombi_arm-2a.JPG
LevoCombi_arm-2a.JPG
LevoCombi_arm-2a.JPG
LevoCombi_arm-2a.JPG
LevoCombi_arm-2b_AP4.JPG
LevoCombi_arm-2b_AP4.JPG
LevoCombi_arm-2b_AP4.JPG
LevoCombi_arm-2b_AP4.JPG
LevoCombi_arm-2b_AP4.JPG
LevoCombi_arm-3a_AP2.JPG
LevoCombi_arm-3a_AP2.JPG
LevoCombi_arm-3a_AP2.JPG
LevoCombi_arm-3a_AP2.JPG
LevoCombi_arm-3a_AP2.JPG
LevoCombi_arm-3b_AP2.JPG
LevoCombi_arm-3b_AP2.JPG
LevoCombi_arm-3b_AP2.JPG
LevoCombi_arm-4_LAE.JPG
LevoCombi_arm-4_LAE.JPG
LevoCombi_arm-4_LAE.JPG
LevoCombi_arm-5_WB2.JPG
LevoCombi_arm-5_WB2.JPG
LevoCombi_arm-5_WB2.JPG
LevoCombi_arm_attached.JPG
LevoCombi_arm_attached.JPG
LevoCombi_arm_attached.JPG
LevoCombi_arm_Standing_M2.JPG
LevoCombi_arm_Standing_M2.JPG
LevoCombi_arm_Standing_M2.JPG
LevoCombi_seat.JPG
LevoCombi_seat.JPG
LevoCombi_seat_AP4_WB2.JPG
LevoCombi_seat_AP4_WB2.JPG
LevoCombi_seat_attached.JPG
LevoCombi_seat_attached.JPG
LevoCombi_seat_attached_M2.JPG
LevoCombi_seat_attached_M2.JPG
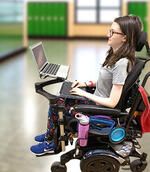
Linae in school hallway
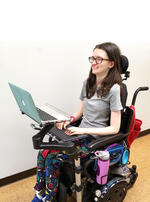
Linae with her double decker Easy Movers
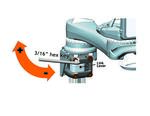
Link Cube - Optional Tightening
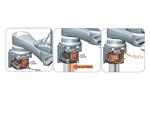
Link Cube Instructions
Link Cube Instructions.jpg
Link Cube Instructions.jpg

Link Cube Optional Tightening

Link Cube Optional Tightening.jpg

Lip Supports.jpg
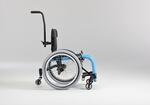
Little Wave Clik
